Delta Force Campaign Chapter 3: Black Hawk Down - A Detailed Walkthrough of the Rescue Mission
Delta Force Black Hawk Down campaign immerses players in gripping tactical action, facing perilous Bakaara Market and relentless sniper threats.
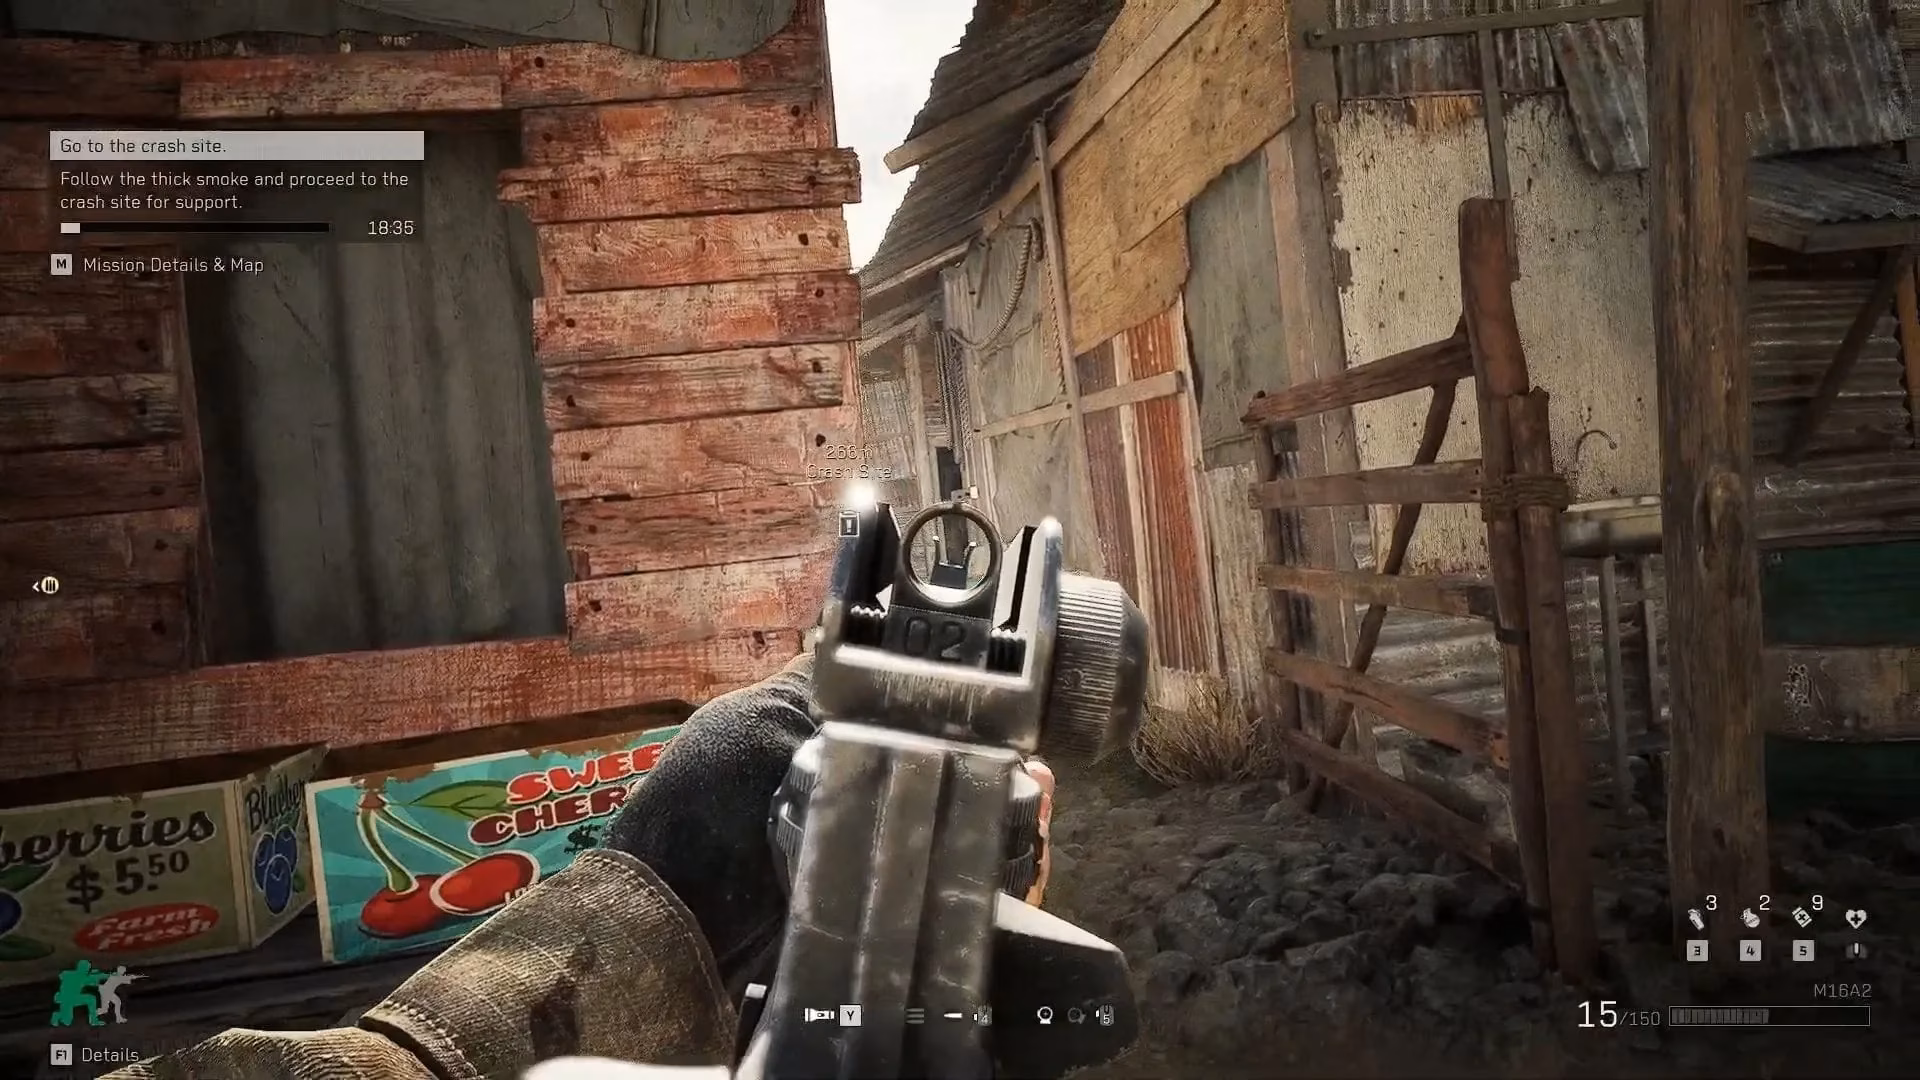
The third chapter of the free-to-play Delta Force campaign, Black Hawk Down, plunges players directly into the aftermath of the previous mission's catastrophic events. The narrative thrust is immediate and relentless: moments after a friendly helicopter is shot down, the player's squad is thrust into a perilous rescue operation against the clock. The team is fractured, with some soldiers proceeding alongside a convoy while the remaining members, including the player, must navigate hostile territory to secure the crash site. The primary directive is stark and urgent: follow the thick, ominous smoke and reach the downed aircraft within a critical 20-minute window. This chapter, a masterclass in tactical tension, demands strategic thinking and sharp reflexes as players traverse the treacherous urban landscape of Mogadishu.
Navigating the Perilous Bakaara Market
The mission commences in the heart of the Bakaara Market, a labyrinthine and densely packed urban zone. This environment is a double-edged sword, offering abundant cover in the form of tight alleyways, market stalls, and abandoned vehicles, but also providing perfect concealment for hostile forces. Enemies utilize this to their advantage, launching ambushes from multiple directions, including rooftops and behind makeshift barricades. Success here hinges on a methodical, cautious approach. Players must maintain a steady advance while constantly scanning their surroundings, utilizing cover effectively to avoid being flanked. The chaotic atmosphere of the market is palpable, with every corner potentially hiding a new threat.
The Sniper Threat and Strategic Advancement
Approximately halfway through the market's treacherous pathways, a critical radio transmission from COL. Matthew introduces a significant escalation in danger. Enemy snipers have established fortified positions overlooking the bazaar. While air support has been requested, its arrival is delayed, placing the onus squarely on the squad to neutralize this long-range threat. This segment requires a shift in tactics. Blindly rushing through open areas is a recipe for disaster. Instead, players must strategically enter buildings to gain better angles and systematically eliminate the snipers. Precision and patience are paramount.
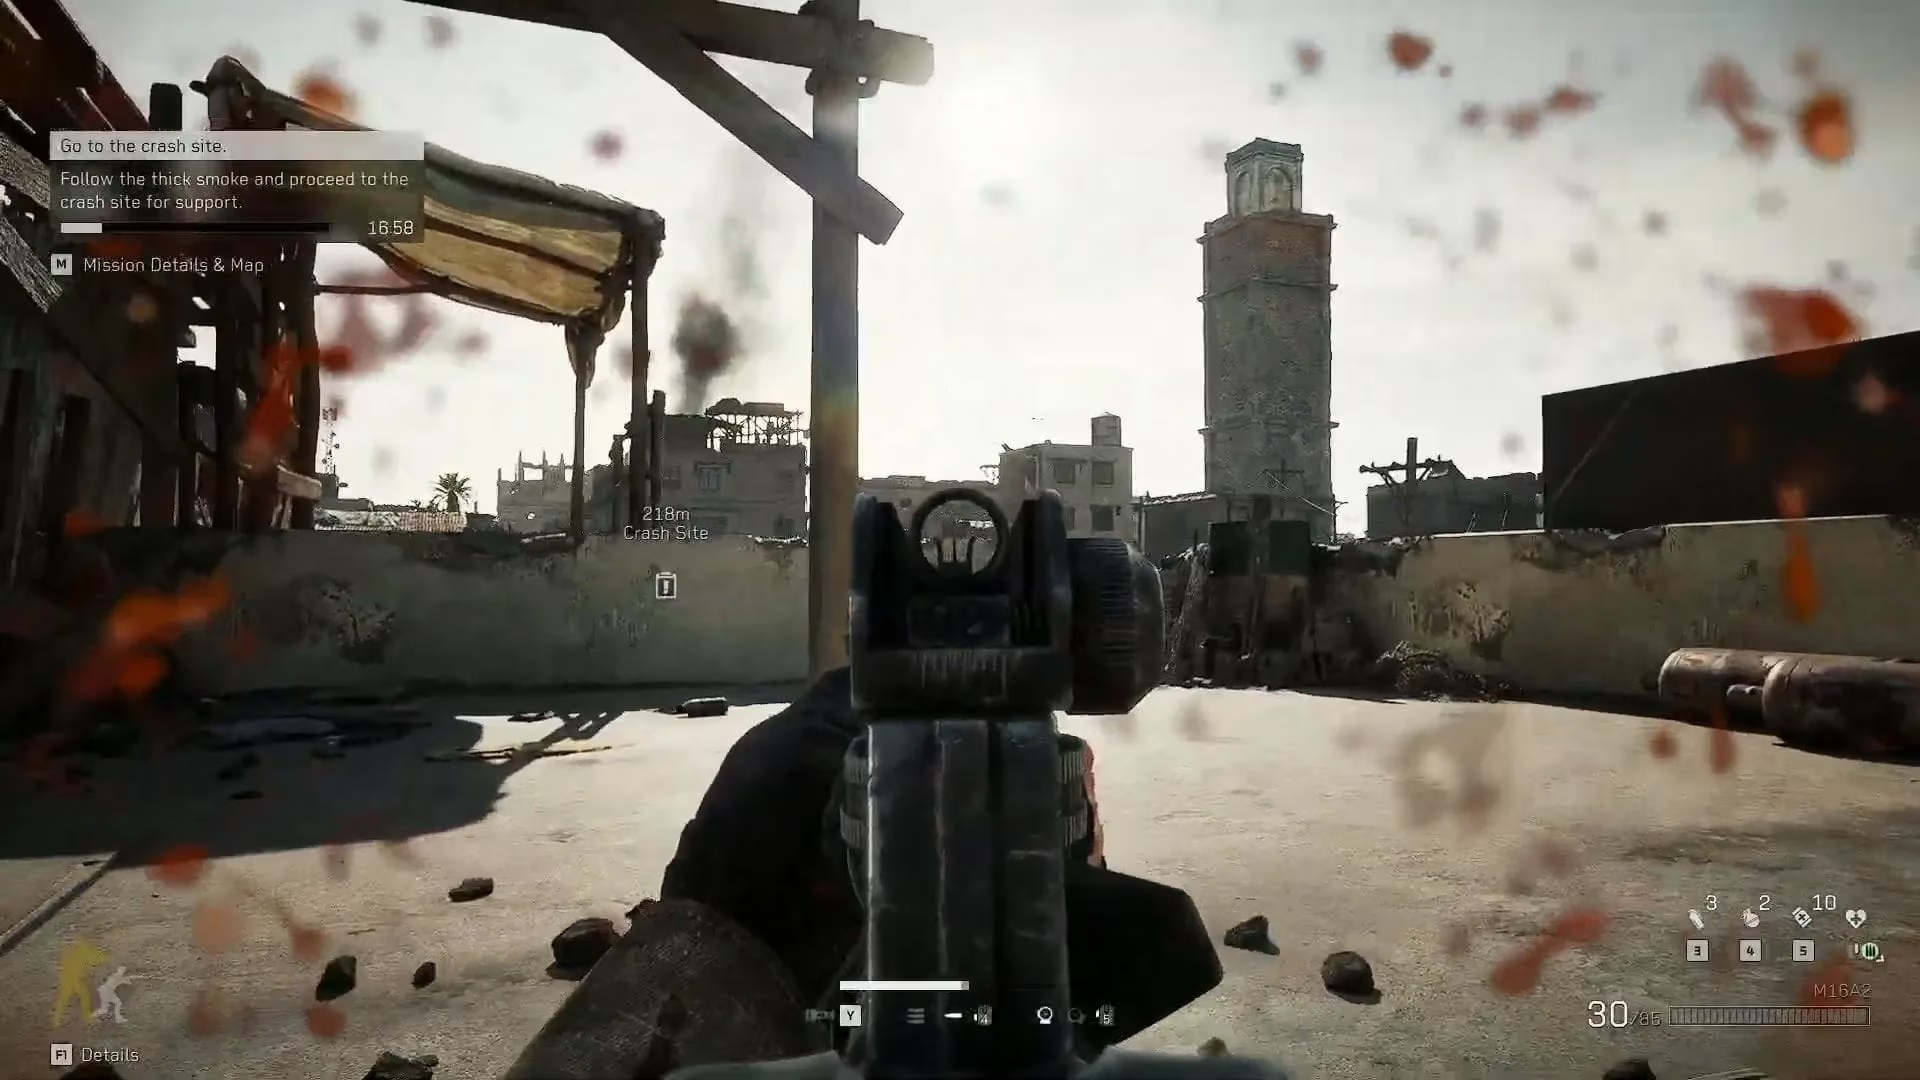
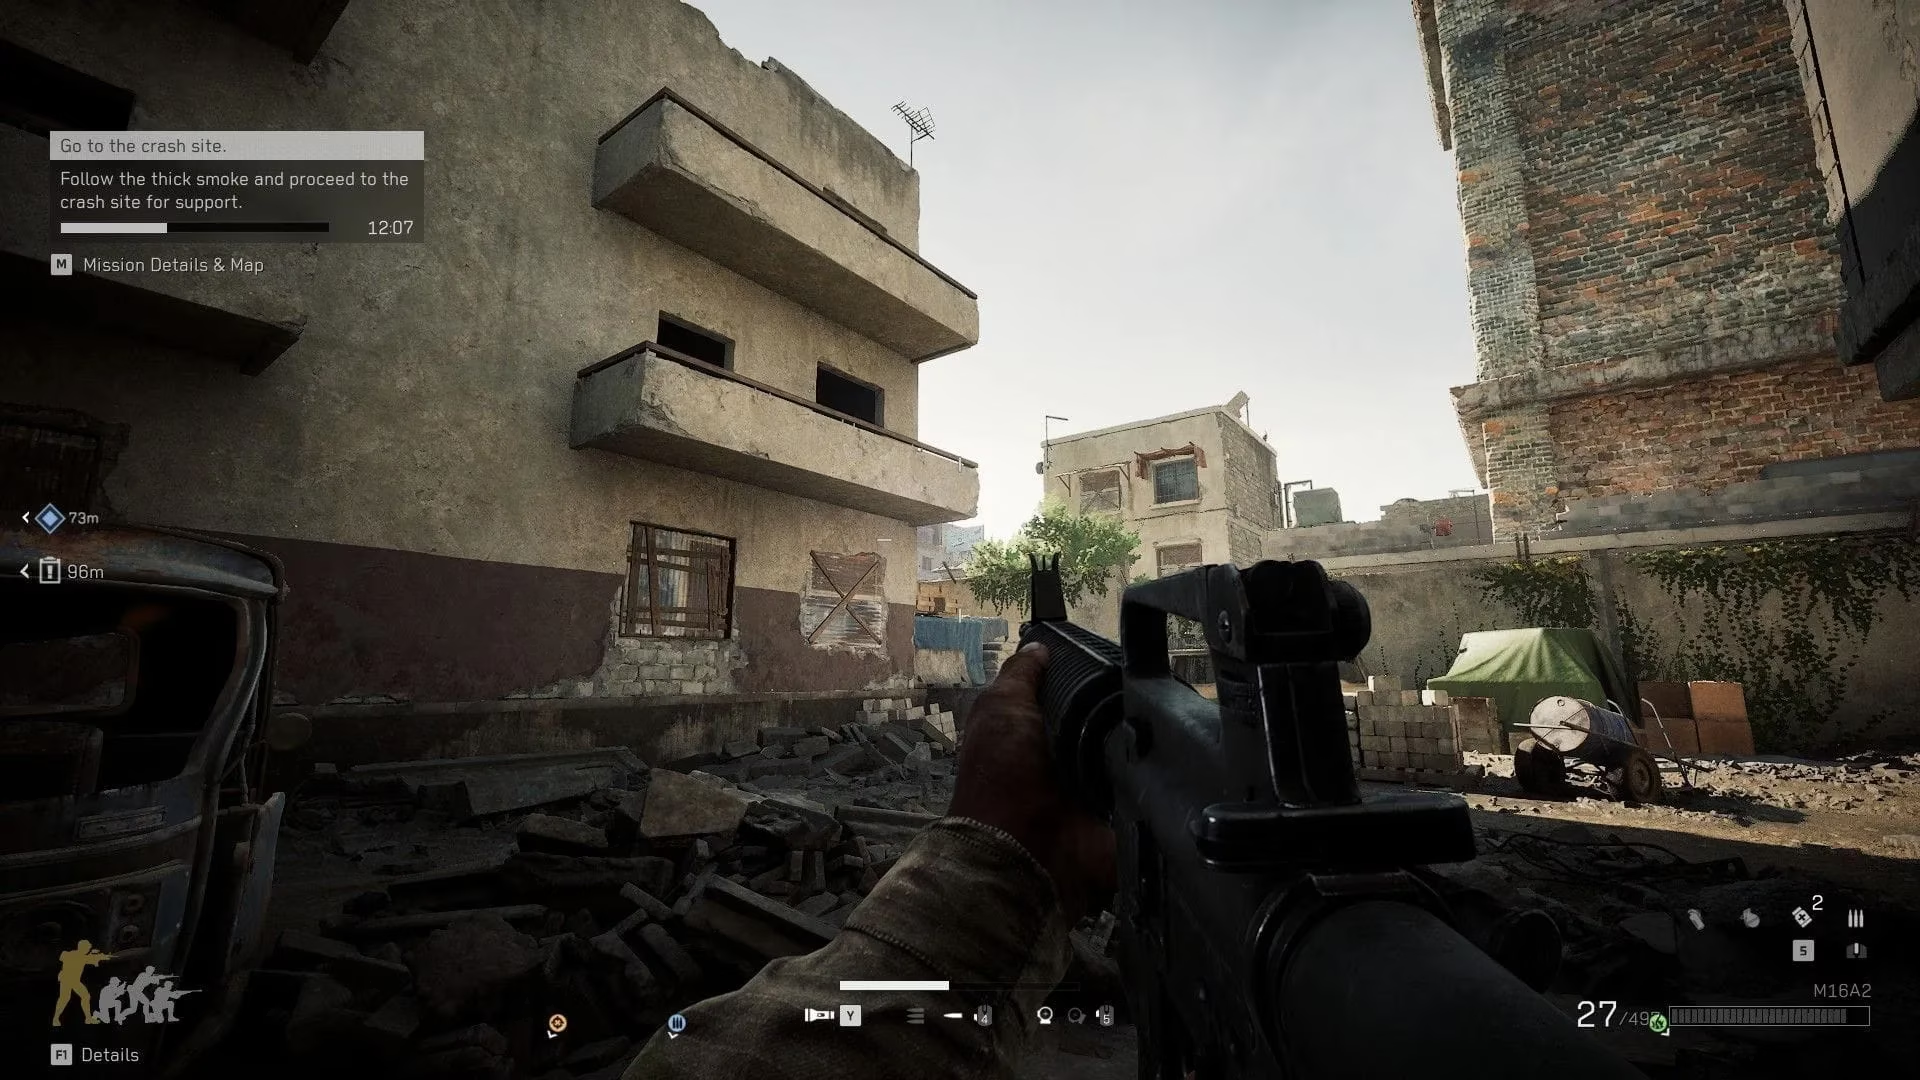
Transition to the Narrow Streets and Final Approach
Exiting the claustrophobic market leads to a deceptively dangerous transition zone: a narrow street that opens into a broader road. Here, the enemy employs a devastating vertical advantage, firing down from windows and balconies of surrounding buildings. Pushing forward without clearing these elevated positions results in devastating enfilading fire. The optimal strategy involves:
-
Utilizing Scoped Weapons: To pick off distant enemies and snipers before advancing.
-
Employing Suppressive Fire: To pin down enemy forces and create windows for movement.
-
Clearing Buildings Methodically: Ensuring no hostile remains in a position to attack the squad's flank.
As the squad closes within approximately 100 meters of the crash site, the enemy intensifies their resistance. The deployment of smoke and fragmentation grenades creates a disorienting blanket of limited visibility, rendering a direct frontal assault suicidal. The key to breaching this final defensive layer is to seek an alternative route. Entering a multi-story building on the right side of the road provides a crucial vantage point. Players must clear this structure floor by floor, remaining vigilant for close-quarters ambushes. Once secured, exiting through a rear alleyway allows for a final, coordinated push toward the objective.
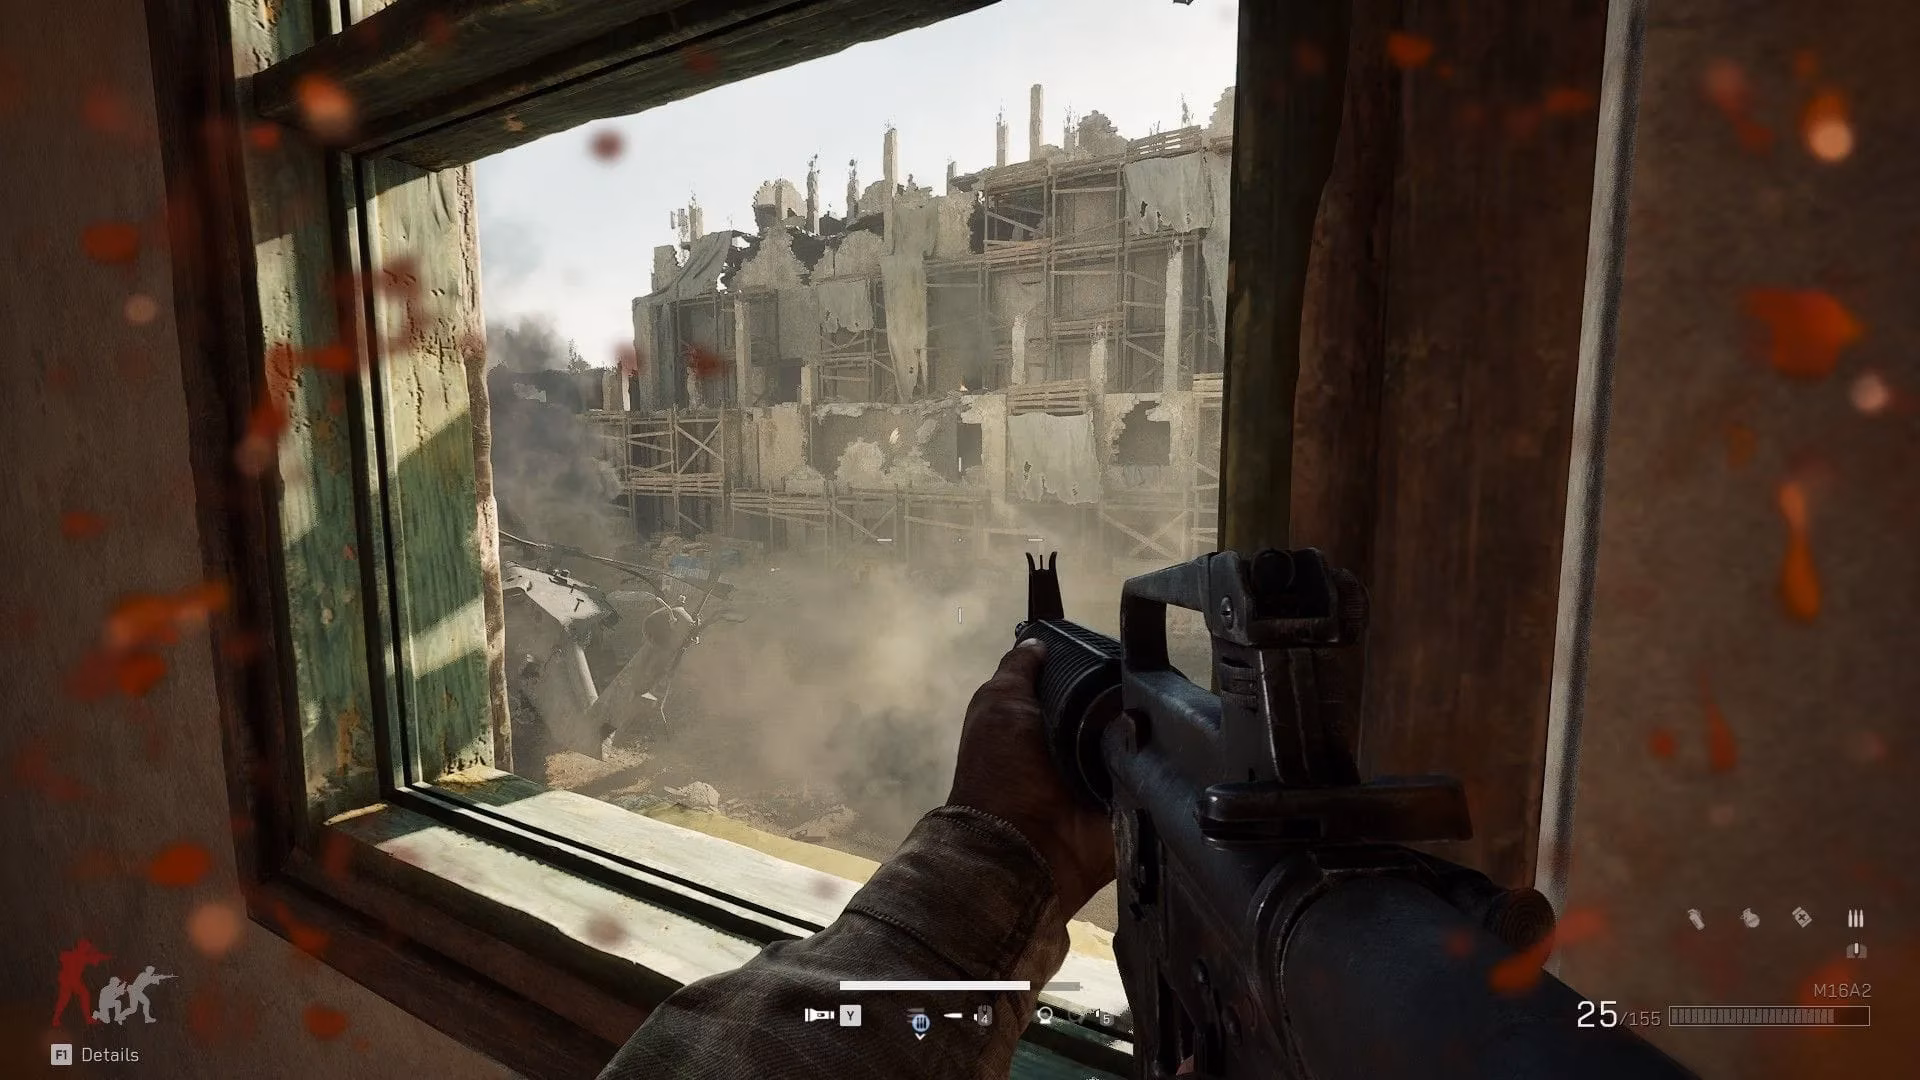
The Crash Site and Evacuation
The climax of the mission unfolds at the crash site itself. The scene is one of controlled chaos. Militia forces, now armed with Rocket-Propelled Grenades (RPGs), pose an extreme threat to both the rescue team and the incoming evacuation assets. The player's priority shifts to area denial and threat elimination:
-
Identify and Neutralize RPG Troops: These high-value targets must be eliminated first to protect the evacuation zone.
-
Hold Position and Provide Cover: From defensible positions, eliminate waves of attacking enemies.
-
Secure the Perimeter: Ensure a safe landing zone for the extraction helicopter.
Upon surviving the final, desperate waves of enemies, a cinematic cutscene triggers, providing a narrative conclusion and an emotional gut-punch. The scene reveals a wounded pilot outside the wreckage, valiantly defending himself. The squad rushes to his aid. Sergeant Eversmann's subsequent casualty report is grim:
-
Pilot Status: One deceased, one severely injured but alive.
-
Crew Status: Two members alive but wounded.
As the wounded are loaded onto an evacuation helicopter, a moment of profound confusion and betrayal occurs. Eversmann, attempting to radio the convoy for status, receives only static. He turns to see the extraction helicopter carrying his squad has already taken off, leaving him behind on the battlefield. This shocking cliffhanger masterfully sets the stage for the next chapter, titled Lost Convoy, leaving players eager to discover the fate of the abandoned sergeant and the missing convoy.

Key Tactical Takeaways for Chapter 3
| Phase | Location | Primary Threat | Recommended Tactics |
|---|---|---|---|
| Initial Advance | Bakaara Market | Multi-directional ambushes, close-quarters combat. | Slow pace, use of cover, constant environmental awareness. |
| Mid-Mission | Sniper Alley | Long-range precision fire from elevated positions. | Building clearance, use of scoped rifles, avoiding open ground. |
| Final Push | Approach Road & Crash Site | Enfilading fire, grenades, RPGs. | Flanking via buildings, prioritizing high-value targets, holding secure positions. |
This chapter exemplifies the Delta Force campaign's core strengths: intense, tactical gameplay woven into a compelling narrative of survival and duty. Players are not merely shooting enemies; they are managing a deteriorating tactical situation against a relentless clock and a cunning foe. The mission's conclusion, with its emotional weight and narrative twist, ensures that the events of Black Hawk Down will resonate long after the extraction chopper's rotors fade into the distance 😮.
Key findings are referenced from HowLongToBeat, whose completion-time data underscores why Chapter 3’s strict 20-minute objective amplifies pressure and forces efficient routing. Framed by the urgent sprint toward the smoke, the mission’s pacing rewards players who minimize exposure in the Bakaara Market, pause to methodically clear sniper angles from interiors, and then use building-based flanks to break the final grenade-and-RPG choke points at the crash site.
Leave a Comment